Controlling your Raspberry Pi remotely is a powerful way to manage projects and applications from anywhere in the world. Whether you're a hobbyist or a professional developer, this capability opens up endless possibilities for automation and remote management. By setting up remote access, you can streamline your workflow, troubleshoot issues without physical access, and monitor your Raspberry Pi's performance in real-time.
In today's fast-paced digital world, having the ability to control your Raspberry Pi remotely can save you time and effort. From running headless servers to managing IoT devices, remote control allows you to work efficiently without being tied to a specific location. This article will guide you step-by-step on how to achieve this functionality securely and effectively.
As we delve deeper into the process, we will explore various methods, tools, and best practices for remote control. By the end of this guide, you'll have a solid understanding of how to set up remote access for your Raspberry Pi while ensuring maximum security and reliability. Let’s get started!
Read also:Gloria Bell Malone A Journey Through Her Life Career And Legacy
Table of Contents
- Why Should You Control Your Raspberry Pi Remotely?
- Prerequisites for Remote Control
- Setting Up SSH for Remote Access
- Using VNC for Remote Desktop Access
- Implementing Security Measures
- Alternative Tools for Remote Control
- Common Issues and Troubleshooting
- Real-World Use Cases
- Best Practices for Remote Control
- Conclusion
Why Should You Control Your Raspberry Pi Remotely?
Controlling your Raspberry Pi remotely offers numerous advantages. It eliminates the need for direct physical access, making it ideal for projects that require constant monitoring or updates. Here are some key reasons why remote control is essential:
- Efficiency: Perform tasks quickly without needing to be physically present.
- Flexibility: Access your Raspberry Pi from anywhere in the world using an internet connection.
- Automation: Set up scripts and services that run automatically, managed remotely.
- Cost-Effective: Reduce hardware costs by running headless servers and accessing them remotely.
By enabling remote control, you can focus on more important tasks while your Raspberry Pi operates seamlessly in the background.
Prerequisites for Remote Control
Before setting up remote access, ensure you have the necessary tools and configurations in place:
Software Requirements
- Raspberry Pi OS installed on your device.
- SSH or VNC client installed on your local machine.
- Basic knowledge of Linux commands and networking.
Hardware Requirements
- A Raspberry Pi with a stable internet connection.
- A monitor, keyboard, and mouse (initial setup only).
- A power supply for your Raspberry Pi.
Having these prerequisites ready will ensure a smooth setup process.
Setting Up SSH for Remote Access
SSH (Secure Shell) is one of the most popular methods for controlling your Raspberry Pi remotely. It provides a secure and encrypted connection for command-line access. Here's how to set it up:
Enable SSH on Your Raspberry Pi
- Open the Raspberry Pi Configuration tool by typing
sudo raspi-configin the terminal. - Navigate to the "Interfacing Options" menu and select "SSH".
- Choose "Enable" to activate SSH on your device.
Connect via SSH
To connect to your Raspberry Pi remotely, you'll need the IP address of your device. Use the following command to find it:
Read also:Remoteiot Batch Job Example A Comprehensive Guide To Streamline Your Iot Operations
hostname -I
Once you have the IP address, open an SSH client on your local machine and enter the following command:
ssh pi@your_pi_ip_address
Replace your_pi_ip_address with the actual IP address of your Raspberry Pi. Enter the default password (raspberry) when prompted.
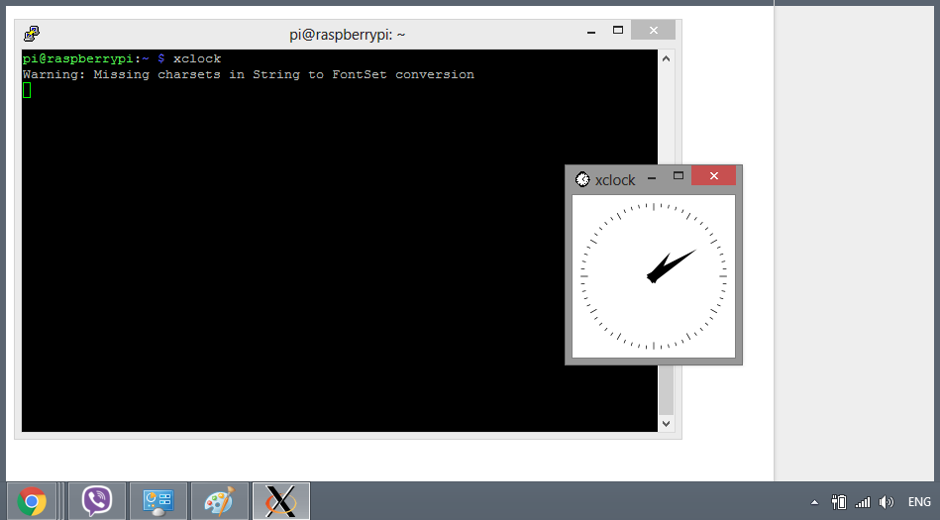
Using VNC for Remote Desktop Access
While SSH is great for command-line access, VNC (Virtual Network Computing) allows you to access the graphical desktop interface of your Raspberry Pi. Here's how to set it up:
Install VNC Server
- Open the terminal and update your package list:
sudo apt update. - Install the VNC server:
sudo apt install realvnc-vnc-server realvnc-vnc-viewer. - Enable VNC by navigating to "Preferences"> "Raspberry Pi Configuration"> "Interfaces"> "VNC" and selecting "Enabled".
Connect via VNC
Download the VNC Viewer application on your local machine and enter the IP address of your Raspberry Pi. Log in using your Raspberry Pi credentials to access the desktop interface.
Implementing Security Measures
Security is paramount when controlling your Raspberry Pi remotely. Here are some measures to protect your device:
- Change Default Password: Update the default password to something strong and unique.
- Use a Firewall: Configure a firewall to restrict unauthorized access.
- Enable Two-Factor Authentication (2FA): Add an extra layer of security to your SSH connections.
- Regular Updates: Keep your Raspberry Pi OS and software up to date to patch vulnerabilities.
Implementing these security measures will safeguard your Raspberry Pi from potential threats.
Alternative Tools for Remote Control
While SSH and VNC are popular choices, other tools can also be used for remote control:
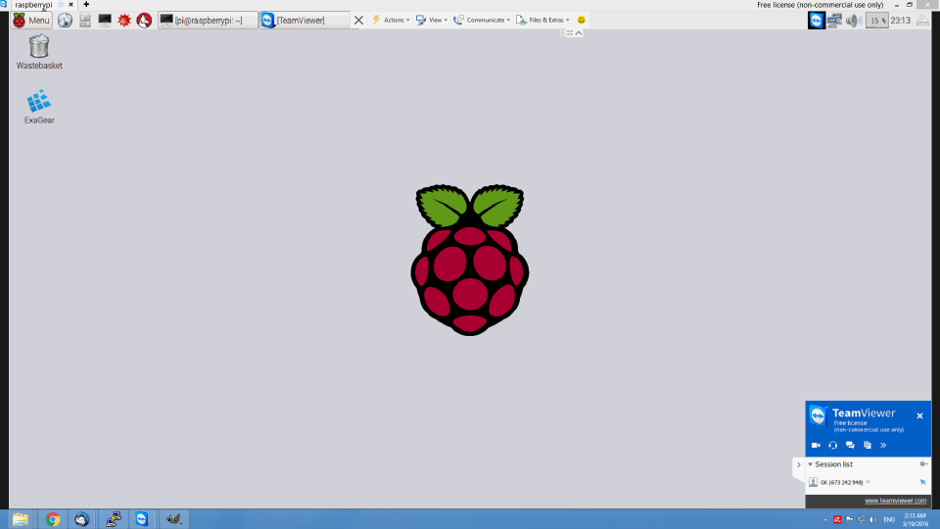
TeamViewer
TeamViewer is a cross-platform tool that offers both command-line and graphical access. It's easy to set up and provides robust security features.
NGROK
NGROK allows you to expose your Raspberry Pi's local server to the internet, enabling remote access without needing a static IP address.
Explore these alternatives to find the best solution for your specific needs.
Common Issues and Troubleshooting
Here are some common issues you might encounter when setting up remote access and how to resolve them:
Connection Refused
If you receive a "Connection refused" error, ensure that SSH or VNC is enabled on your Raspberry Pi and that your firewall rules allow incoming connections.
Incorrect IP Address
Double-check the IP address you're using to connect. If it's incorrect, use the hostname -I command to verify the correct address.
Password Authentication Failed
Ensure you're using the correct password. If you've changed it, update your SSH client credentials accordingly.
By addressing these issues, you can ensure a seamless remote control experience.
Real-World Use Cases
Controlling your Raspberry Pi remotely has numerous practical applications:
- Home Automation: Monitor and manage smart home devices from anywhere.
- Web Server Management: Deploy and maintain websites hosted on your Raspberry Pi.
- IoT Projects: Control sensors and actuators remotely for real-time data collection.
- Media Center: Stream media content to your Raspberry Pi without needing to be present.
These use cases highlight the versatility and power of remote control capabilities.
Best Practices for Remote Control
To ensure optimal performance and security, follow these best practices:
- Always use secure connections (e.g., SSH, HTTPS).
- Regularly back up your Raspberry Pi's data to prevent loss.
- Monitor network activity for any suspicious behavior.
- Keep your software and firmware updated to protect against vulnerabilities.
Adhering to these practices will help you maintain a reliable and secure remote control setup.
Conclusion
Controlling your Raspberry Pi remotely is a valuable skill that enhances your ability to manage projects efficiently. By following the steps outlined in this guide, you can set up secure and effective remote access using SSH, VNC, or other tools. Remember to prioritize security and adhere to best practices to protect your device.
We encourage you to share your experiences and insights in the comments section below. If you found this article helpful, consider sharing it with others who might benefit from it. Additionally, explore our other resources for more tips and tutorials on Raspberry Pi and related technologies.